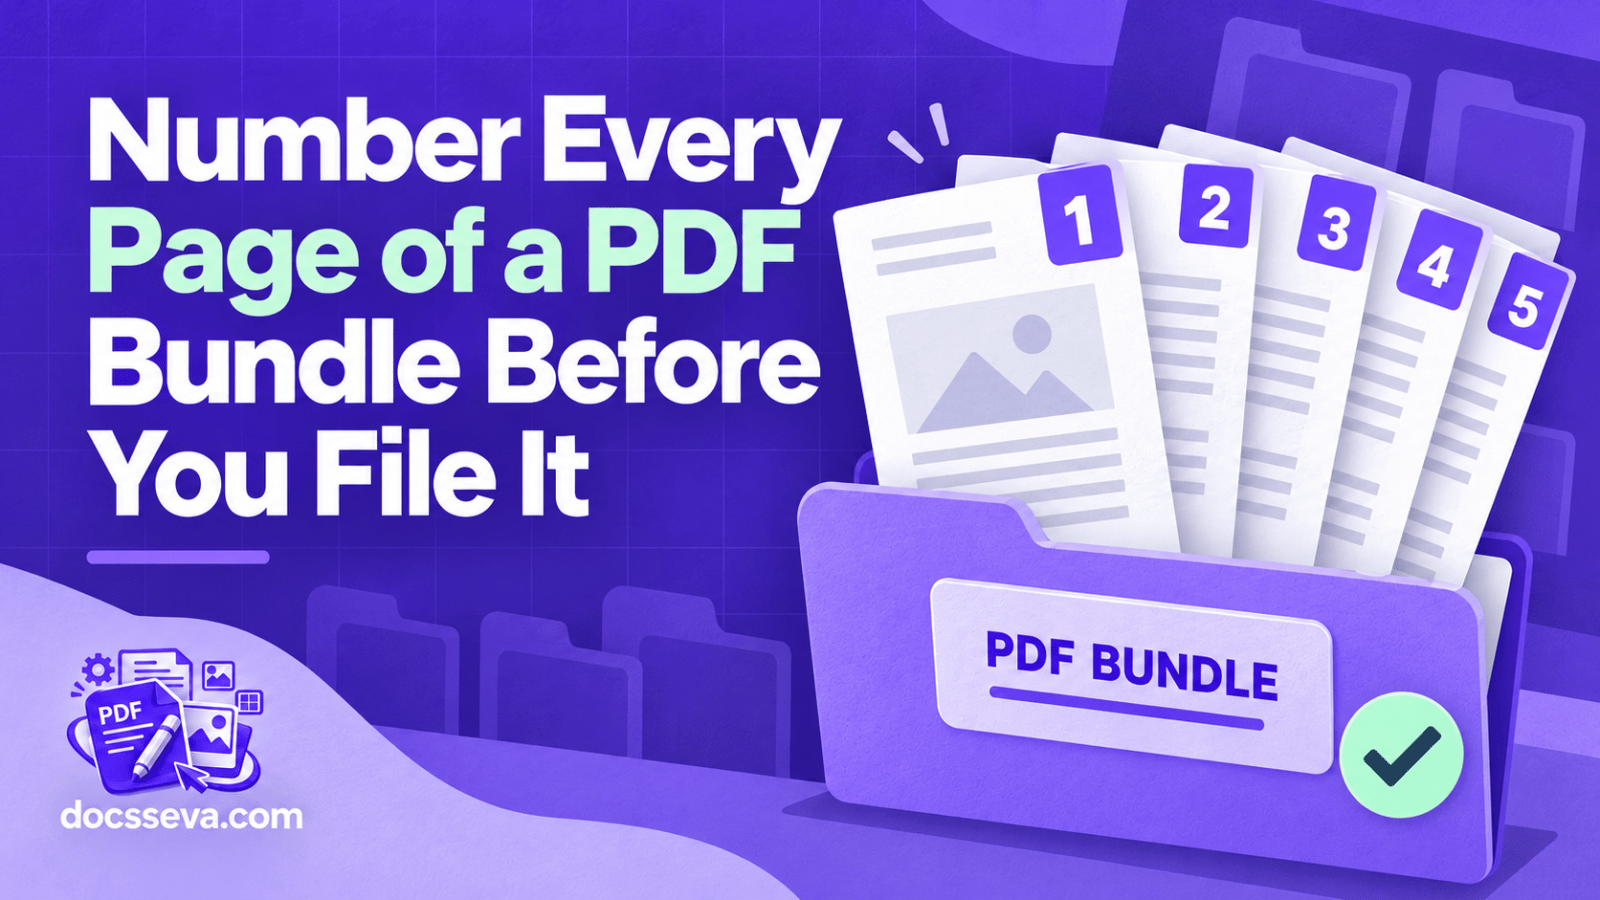
Number Every Page of a PDF Bundle Before You File It
Key takeaways
- Merge before numbering or every part restarts at 1
- {page} and {pages} resolve per page when you export
- Duplicate the stamp for odd and even pages when printing double-sided
- There is no starting offset, so numbering always follows real page order
Loan files, tender submissions, court paper books, RTI replies, society AGM packs — all of them come with the same instruction somewhere in the checklist: every page numbered serially, and often initialled too. The bundle is 84 pages assembled from six different PDFs, four of which already have their own page numbers starting at 1.
Writing 1 to 84 by hand in the corner of a printout is an hour of your life. Stamping it takes about four minutes, and the numbers come out straight.
Merge first. Always merge first.
This is the step people skip and then repeat the whole job.
Number the parts separately and you get six documents each starting at 1, which is exactly what the checklist told you not to submit. Join everything into a single file with PDF Merger in the final submission order, confirm the total page count, and only then number it. The stamp resolves page numbers from the file's real page positions, so the count has to be settled before you start.
While you are at it, take out anything that should not be in the bundle. A blank back page from a scan, a duplicated covering letter, the fax confirmation that crept in — PDF Page Remover handles that, and doing it before numbering means you do not end up with a gap between 41 and 43.
Building the number stamp
Open PDF Stamp and load the merged file. Ignore the preset stamps — APPROVED, PAID and the rest are not what this needs — and click Custom text.
In the stamp text box, type:
Page {page} of {pages}
Those two fields are resolved per page at export. On page 7 of an 84-page bundle it prints "Page 7 of 84". On page 8, "Page 8 of 84". You are writing one stamp, not eighty-four.
Then set it up to look like a page number rather than a rubber stamp:
| Control | Setting |
|---|---|
| Frame | Plain (no box around it) |
| Bold | Off |
| Ink colour | A dark grey such as #334155, or black |
| Size | 10 pt for A4, 11-12 pt if it will be photocopied |
| Opacity | 100% |
| Rotation | 0° |
| Pages | Every page |
For position, use the 3x3 grid and click bottom-centre. That puts it at 50% across and 92% down — inside the printable area on every common printer, and clear of the binding edge. If your bundle will be spiral bound on the left, bottom-right is safer.
Check the layer list once you are done. Under the stamp's name it says where it lands: "All 84 pages". If it says "Page 1", the page mode is still on This page only.
Initialling every page as well
Many submissions want an initial or signature on each page, not just a number. Add a second stamp rather than trying to make one do both.
Click Draw signature, sign in the pad — a finger on a phone screen gives a better line than a mouse — and press Use signature. Then, with that stamp selected, set its width to around 10-14% of the page, drag it to the bottom-right corner, and set Pages to Every page.
Two stamps, different content, different corners, both applying to all 84 pages, exported in one pass. The stamps card shows them as separate layers with a duplicate and a delete button each.
The double-sided trick
If the bundle gets printed on both sides and bound, a number in the same corner of every sheet ends up in the gutter on alternate pages. The page mode list has Odd pages and Even pages for exactly this.
- Set your number stamp to Odd pages and place it bottom-right.
- In the stamps list, press the duplicate button on it.
- Select the copy, change its page mode to Even pages, and drag it to bottom-left.
Now the number always sits at the outer edge of the open book. Same on printed reports, and it is the sort of detail that makes a submission look like someone competent assembled it.
What it cannot do
Two limits worth knowing before you build the whole thing around it.
The number is always the real page position. There is no starting offset. If your covering letter and index are not part of the numbering and the sequence is supposed to begin at 1 on the third sheet, {page} will still print 3 there. The workaround, when the rules allow it, is to number the full document including the front matter. When they do not, split the front matter off with PDF Splitter, number the main body as its own file, and rejoin afterwards — but then the total in "of {pages}" reflects the body only, which may or may not be what the checklist wants. Read the instruction carefully before deciding.
Prefixes work, sequences do not. You can type anything around the field, so "Annexure B - Page {page} of {pages}" or "File 24/2026 - {page}" both print correctly. What you cannot do is a running serial that continues across separate files, the way legal Bates numbering does. Inside one merged document you are fine. Across three documents that must number 1-40, 41-90 and 91-120, you are not.
If the sequence genuinely matters and cannot be offset, merging everything into one file is not just convenient — it is the only way the numbering comes out right.
Before you print
Export with Apply stamps and look at the result properly. Page one, a page from the middle, and the last page. What you are checking:
- The number is inside the printable margin, not sitting on the very edge.
- It does not collide with a footer that was already on the original pages. Scanned documents often have their own numbering, and two sets of numbers on one page is worse than none.
- Landscape pages, if any, got the stamp on their visual bottom edge. Rotated pages are handled, but it is worth confirming.
- The last page reads "Page 84 of 84".
If the exported file is heavier than the submission portal accepts, PDF Compressor will bring it down without disturbing the stamps, since they are drawn into the page content rather than sitting in a separate layer.
That permanence cuts both ways. A stamped page cannot be un-stamped by clicking it in a reader — good, because nobody can quietly remove your numbering, and inconvenient, because a mistake means going back to the pre-stamp file and doing it again. Keep the merged, unstamped bundle. It costs nothing and it is the file you will want when the office asks you to insert two more annexures and resubmit.
The rest of the document tools are under editors and on all tools.
DocsSeva Team
Published on September 14, 2026
Browse all tools
29+ free document tools, no account required.
Browse all toolsMore on pdf-markup
High-Intent Comparison
Highlight, Stamp or Watermark: Which Mark Do You Need?
Annotations answer what you think, stamps record what happened, watermarks say what the document is. A side-by-side comparison, including which marks can be undone.
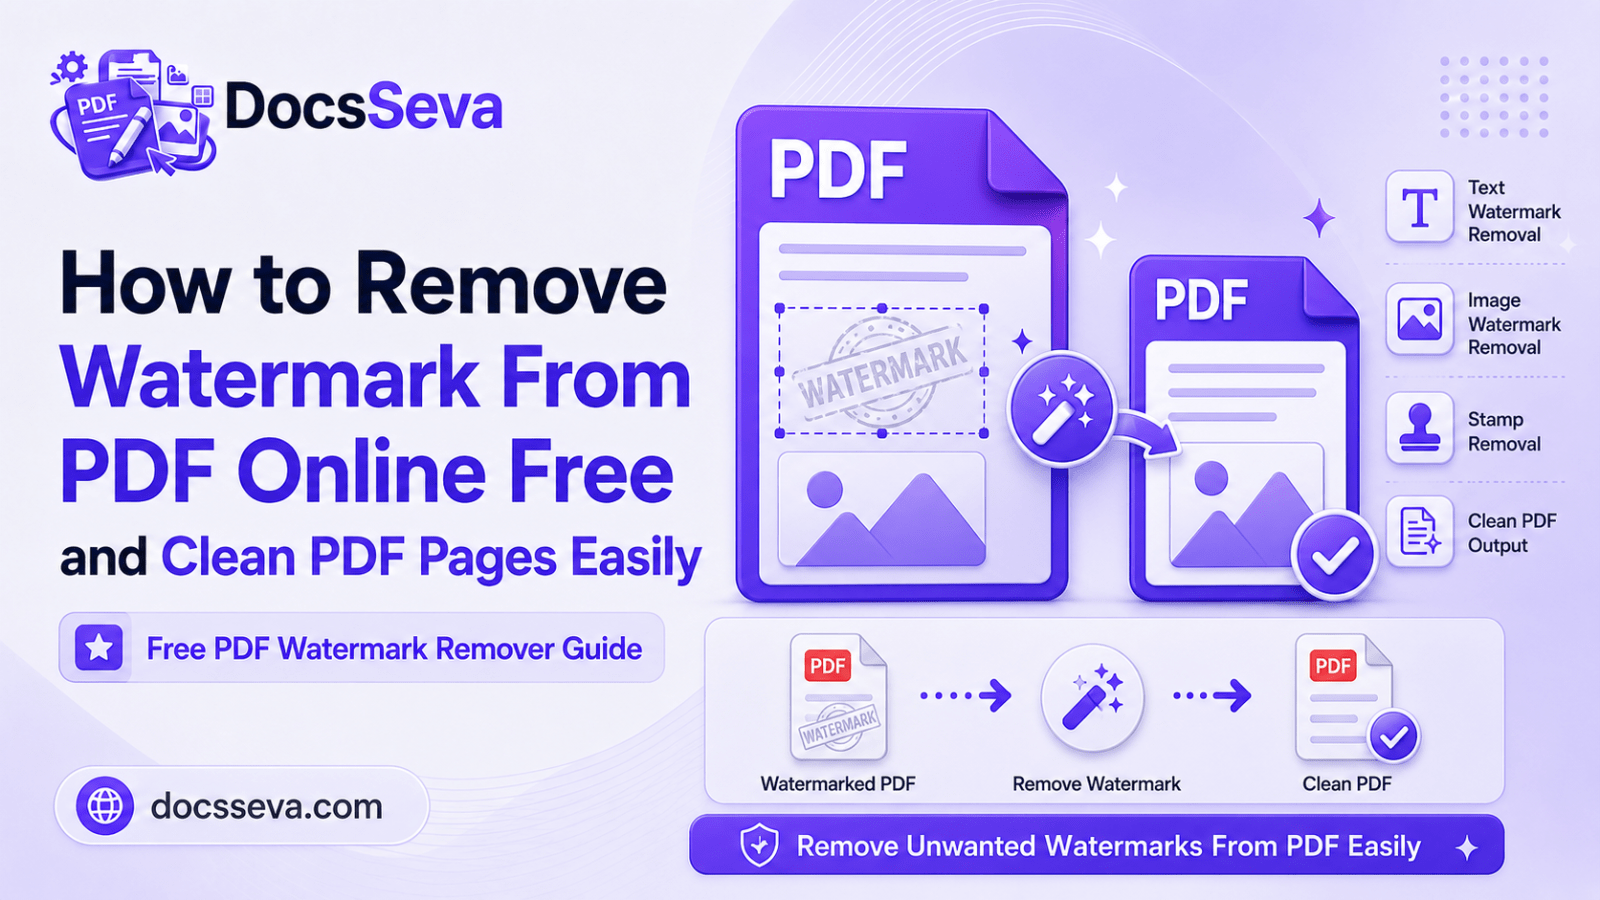
How to Remove Watermark From PDF Online Free (Only From PDFs You Own)
Learn how to remove supported text watermarks from PDF files you own. Automatically detect watermark text, manually mark scanned areas, and download a clean PDF online.
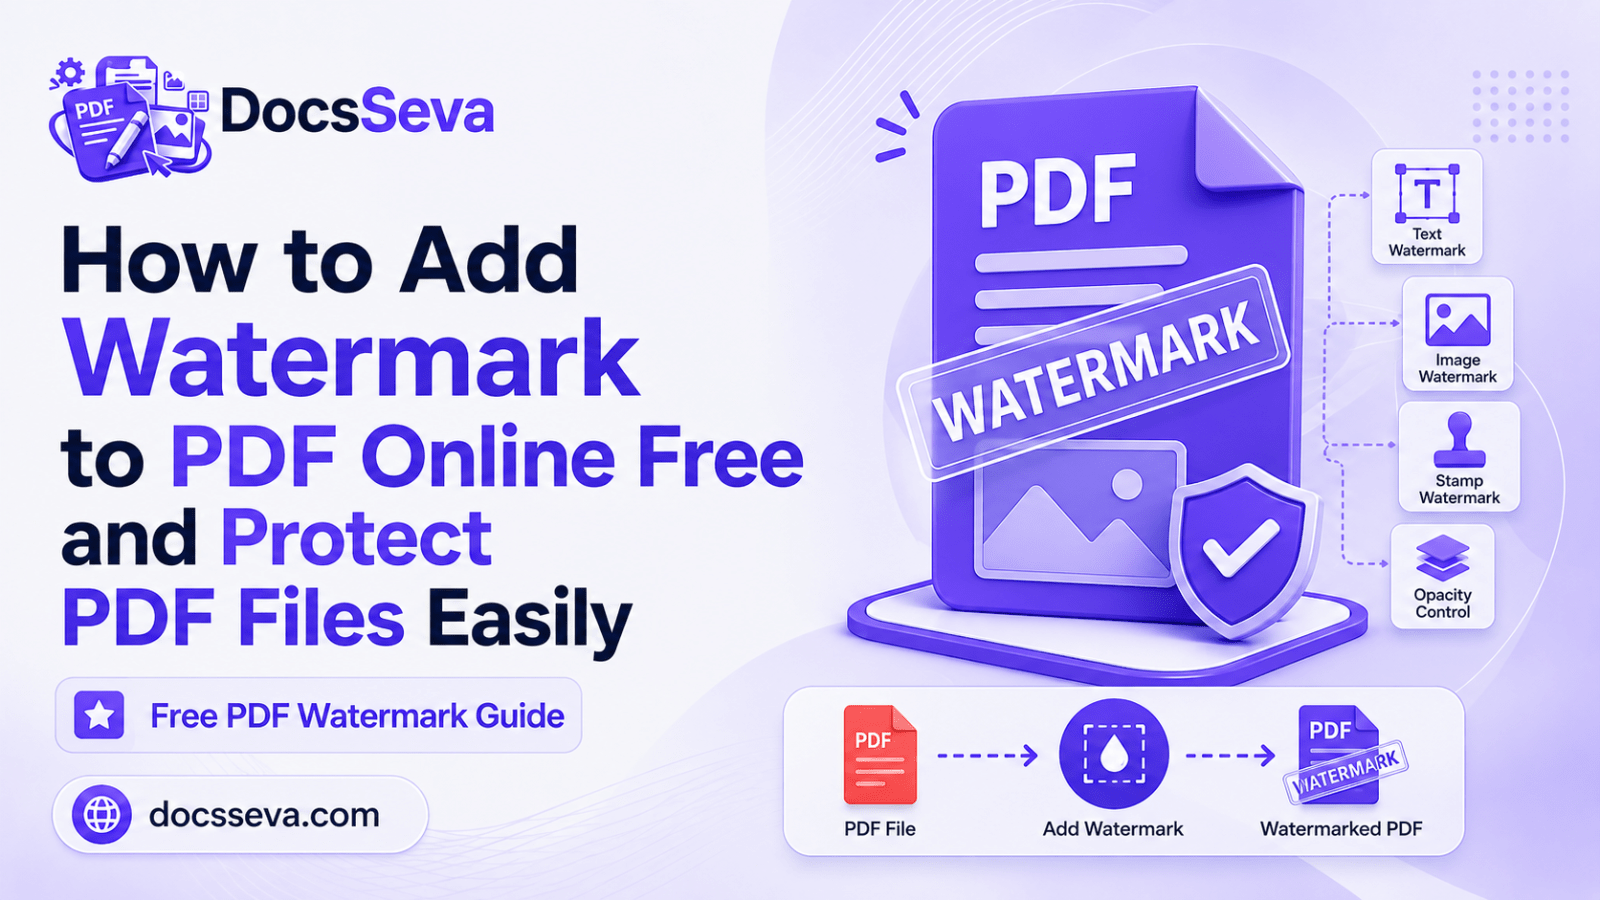
How to Add a Watermark to PDF Online Free and Protect Your Documents
Learn how to add a custom text watermark to a PDF online free with DocsSeva. Adjust the font, opacity, angle, and position, then download your watermarked document easily.