Stamp PAID on an Invoice Without Printing It First
Key takeaways
- Preset stamps carry a date field that resolves at export
- A photographed seal can have its white paper keyed out on import
- Stamps default to the page you placed them on, not the whole file
- A drawn signature is a picture, not a digital signature certificate
The payment lands at 7:40 in the evening. The customer wants the invoice back marked paid before he closes his own books, the rubber stamp is in the drawer at the shop, and you are at home with a laptop and a PDF.
Printing the invoice, stamping it, scanning it and sending it back is four steps and a scanner you probably do not have at home. Putting the stamp onto the PDF directly is one step, and the result looks better than a scan of a stamped printout ever does.
Start with the preset, adjust after
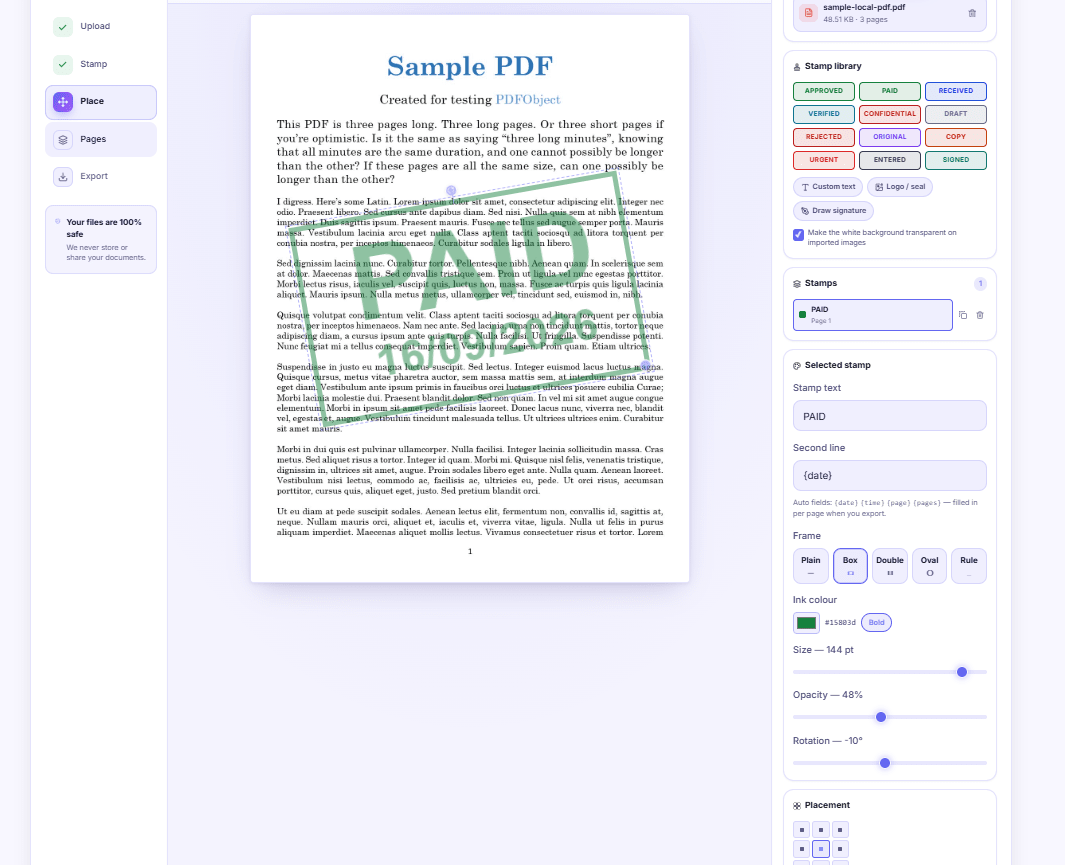
Open PDF Stamp and drop the invoice in. The first page appears as a working canvas — this is the real page, rendered, not a thumbnail.
In the stamp library on the left, click Paid. A green PAID stamp appears in the middle of the page inside a rectangular frame, tilted about ten degrees, with today's date on a second line underneath. The tilt is deliberate: a perfectly level stamp reads as printed matter, a slightly crooked one reads as something a person pressed onto the page.
The date is not typed in. The second line of that preset contains {date}, which is a field that gets filled in when you export. Same for {time}, {page} and {pages}. If a document sits half-finished on your machine for two days, the date that lands on it is the day you actually export, not the day you set the stamp up.
The date format sits in the Apply to pages card — DD/MM/YYYY, MM/DD/YYYY, YYYY-MM-DD or DD MMM YYYY. For anything going to an Indian customer, DD/MM/YYYY is the one that will not be misread.
Put it where a stamp goes
Drag it. The stamp moves under your finger or your mouse, and while it moves it snaps to the page margins and the centre line, so you can line it up with the edge of the invoice table without measuring anything. Hold Alt while dragging if the snapping is fighting you.
On an invoice, the natural home is the empty band under the total, or across the bottom-right where a signature block sits. Some people put it across the amount itself. That reads as emphatic and works fine, as long as the amount is still legible underneath — drop the opacity to around 70% if you go that way.
Three more controls, all on the selected stamp:
- The corner handle resizes. The size slider does the same thing numerically, in points, from 8 to 160. The preset starts at 40 pt, which is about right on an A4 invoice.
- The handle above it rotates. Hold Shift while rotating to snap in fifteen degree steps.
- The arrow keys nudge. A tap moves it a fraction of a percent of the page width; Shift plus an arrow moves it about five times further. This is how you get it exactly aligned with a table edge.
There is also a 3x3 grid of buttons that jumps the stamp to any of the nine standard positions — top-left through bottom-right — which is faster than dragging when you just want it in a corner.
Which pages get it
A stamp defaults to This page only, on the page you added it to. That is normally what you want on an invoice: PAID goes on page one, not on all four pages of the annexure.
The dropdown also offers Every page, First page, Last page, Odd pages, Even pages, and a custom range where you type something like 1, 4-6. The layer list under the library shows each stamp with a plain-English summary of where it lands, so you can see at a glance that one says "Page 1" and another says "All 6 pages".
Multiple stamps are allowed, each with its own pages. A PAID on page one and a small firm-name stamp on every page is two stamps and one export.
Using your actual rubber stamp
The office stamp with your GST number and the signature line carries more weight with some customers than a generic green PAID. You can put the real one on the page.
Press it onto a clean sheet of white paper, take a straight photo in daylight, and before uploading it tick Make the white background transparent on imported images. That knocks the paper out: anything near-white becomes fully transparent, and the band just below white fades out gradually so the letter edges stay soft instead of jagged. What lands on the invoice is the ink, sitting over your content, rather than a white rectangle covering it.
The importer takes PNG, JPG and WebP. A big image is scaled down to a 1600 px long edge first — a stamp prints about two inches wide, and embedding a full 12-megapixel phone photo would add tens of megabytes to the invoice for detail nobody will ever see. Size it with the width slider, which is expressed as a percentage of the page: 20-25% is a realistic stamp width on A4.
If your original ink is pale blue or purple, photograph it on white and check the result at 100% zoom. The white-key-out works on brightness, so very light ink can partly disappear along with the paper.
Signing it too
The Draw signature button opens a pad. Sign it with a mouse, a trackpad or a finger on a phone — a finger on a phone is genuinely the easiest of the three — and press Use signature. It arrives as a transparent stamp, positioned low on the page where a signature usually goes, and behaves like any other stamp from that point on.
Be clear about what this is. It is a picture of your signature drawn onto the page. It is not a digital signature certificate, it carries no cryptographic identity, and it will not satisfy anyone who specifically asks for a DSC-signed document. For an invoice acknowledgement between two businesses that already know each other, it is completely normal. For a tender submission that specifies digital signing, it is not the right tool.
Export and send
Press Apply stamps. Each stamp is drawn into the page content itself, not attached as a note or an annotation layer, so the recipient cannot click it and drag it off in their reader. Download the file — it comes back with a _stamped suffix on the original name.
Then check the size before it goes out. A photographed seal can add a couple of megabytes, and WhatsApp will refuse a document over its own limit while email attachments get bounced by strict corporate servers. PDF Compressor will bring it down.
If the customer wants the invoice and the payment screenshot as one document, turn the screenshot into a page with Images to PDF and join the two files with PDF Merger after stamping.
Two things that go wrong
The PDF will not open. Password-protected files have to be unlocked first. Run it through PDF Unlock with the password, then stamp the unlocked copy.
The stamp text will not export. Custom text is drawn in the standard Helvetica built into the PDF format, which covers Latin characters. A stamp typed in Hindi or Tamil will fail. Write it in English, or photograph a real stamp and import it as an image — an image has no such limit, which is one more reason the photographed-seal route is worth setting up once.
The rest of the marking and editing tools sit under editors, including the PDF Annotator when what you need is a comment rather than a stamp.
DocsSeva Team
Published on September 16, 2026
Open the PDF & Image Editors
Free, no sign-up, and your files are never stored.
Open the PDF & Image EditorsMore on pdf-markup
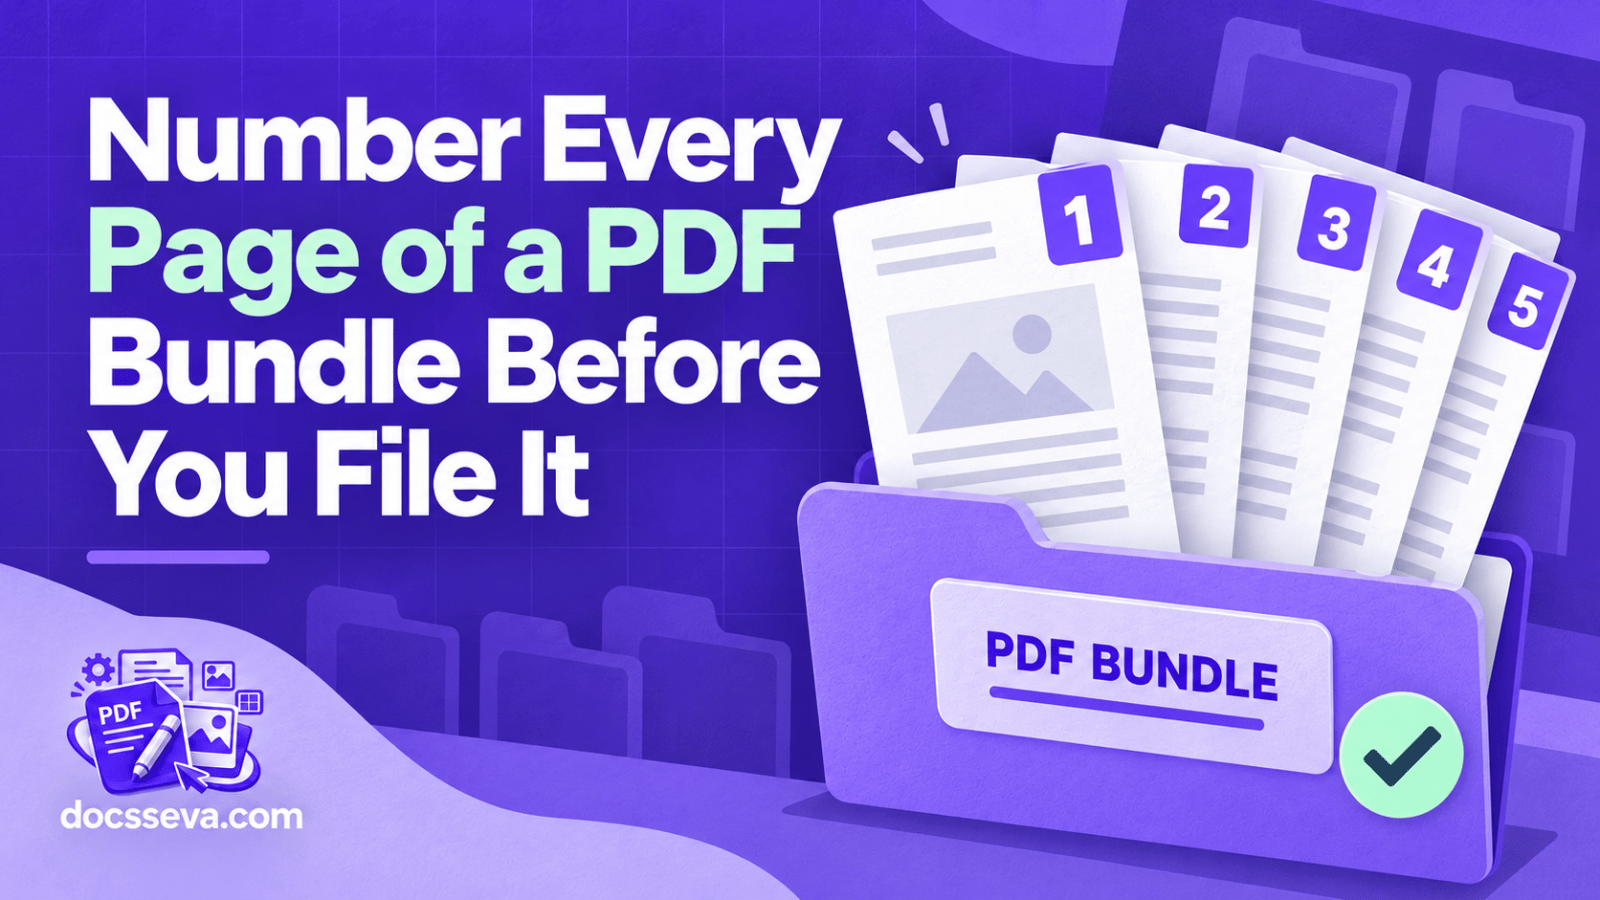
Number Every Page of a PDF Bundle Before You File It
Merge, then stamp Page {page} of {pages} across the whole bundle in one pass, add an initial on every sheet, and handle double-sided printing properly.
High-Intent Comparison
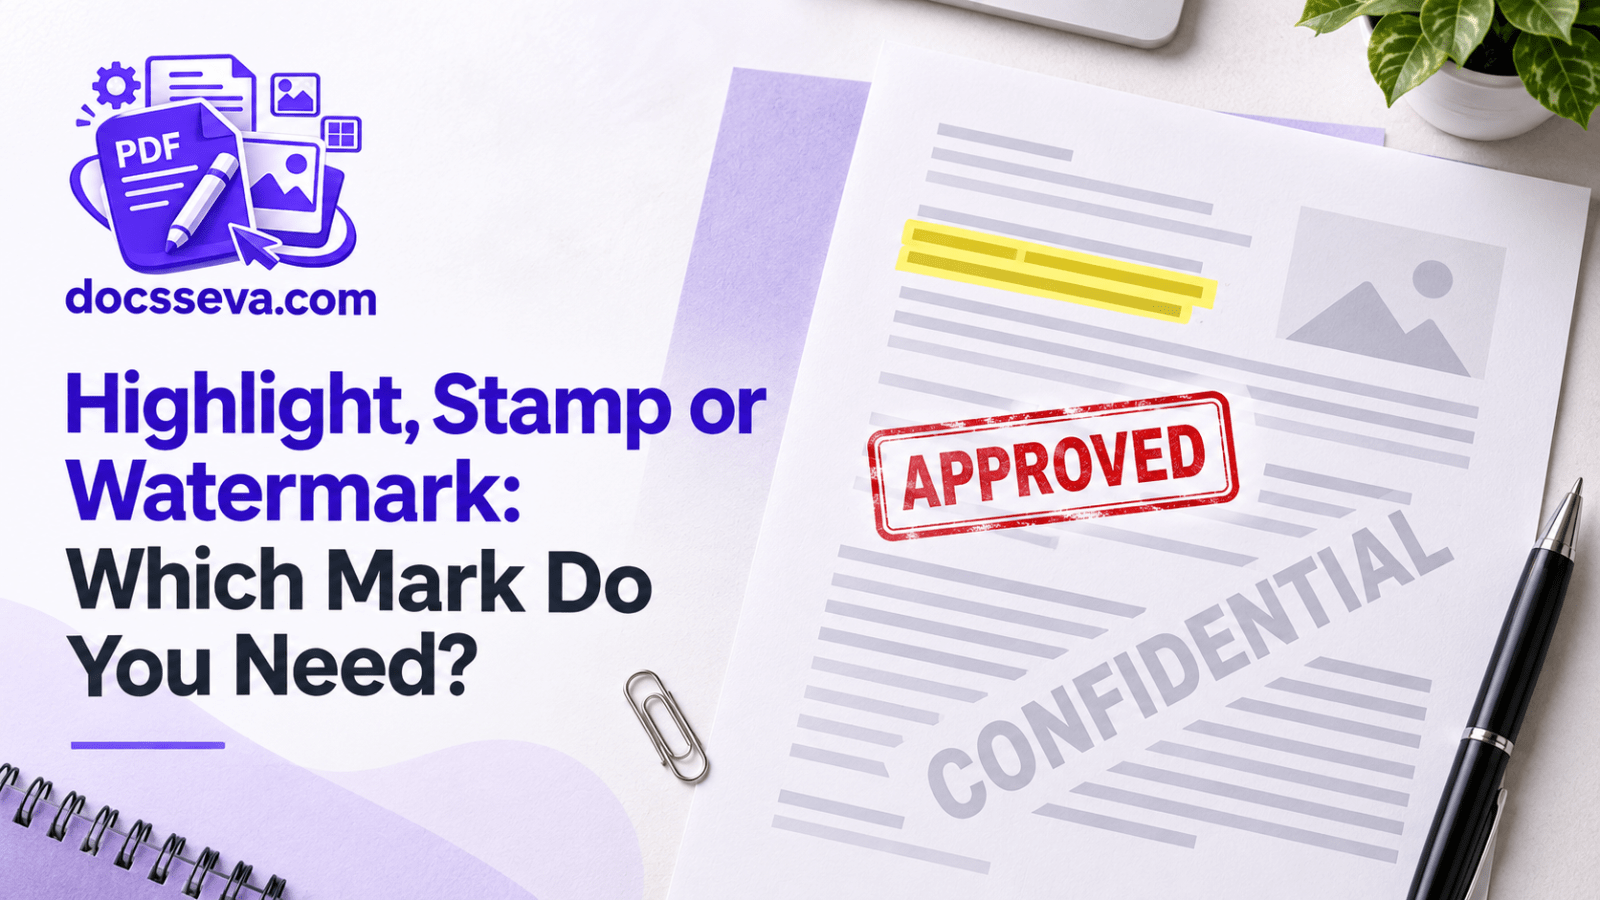
Highlight, Stamp or Watermark: Which Mark Do You Need?
Annotations answer what you think, stamps record what happened, watermarks say what the document is. A side-by-side comparison, including which marks can be undone.
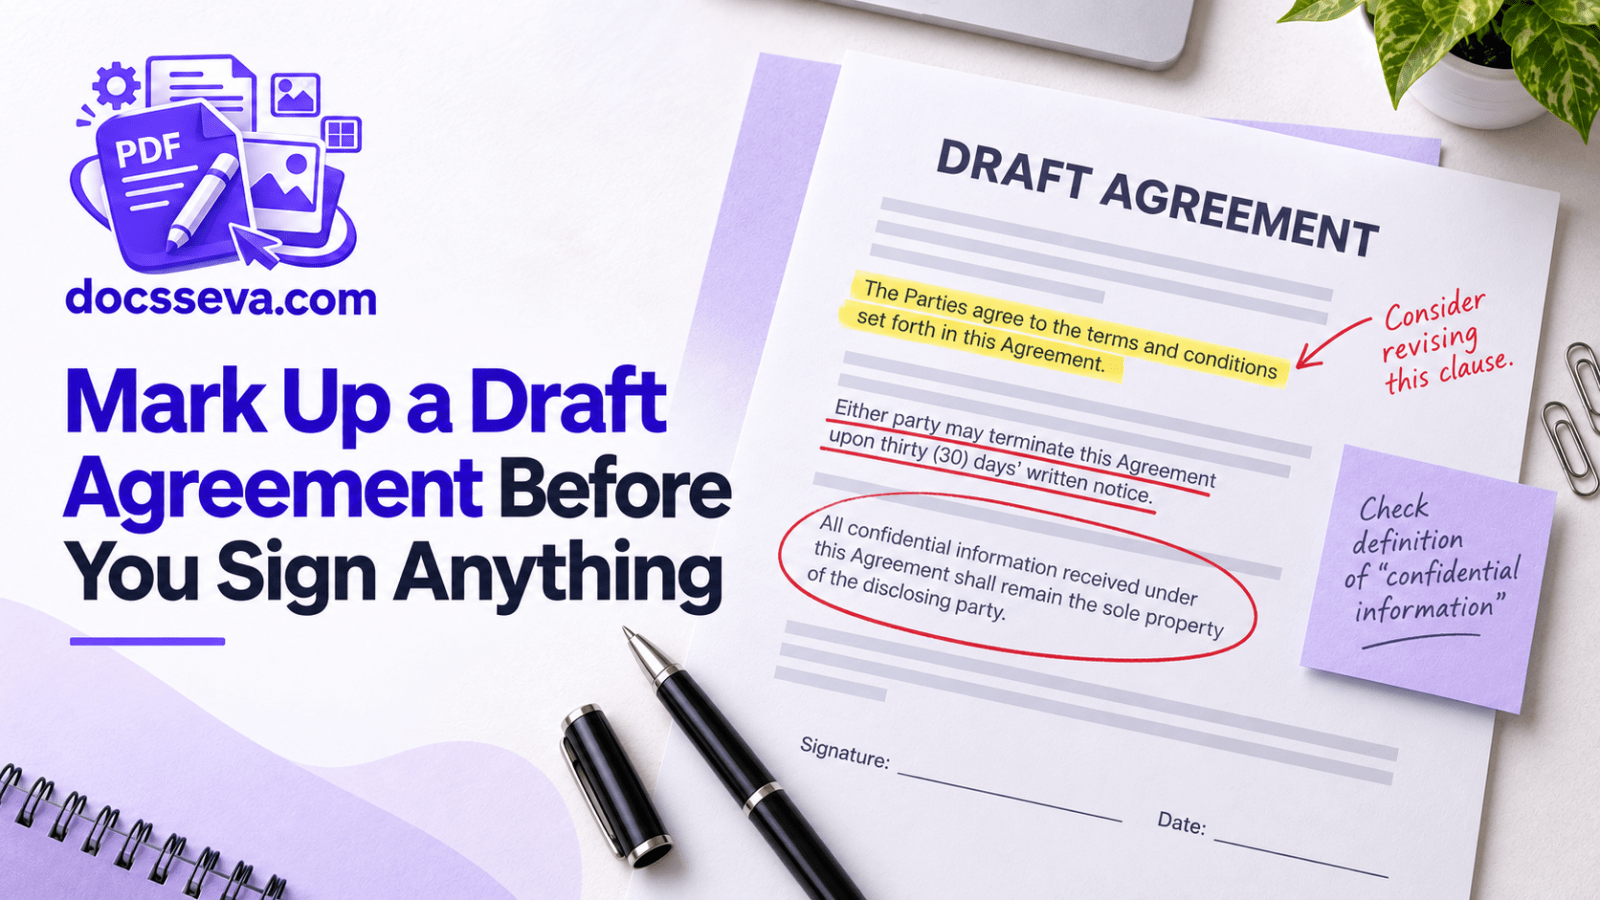
Mark Up a Draft Agreement Before You Sign Anything
Highlight the clauses you disagree with, attach short notes where they belong, and send back one marked copy instead of an email nobody can follow.