How to Compress a PDF Below 200 KB Without Blurry Text
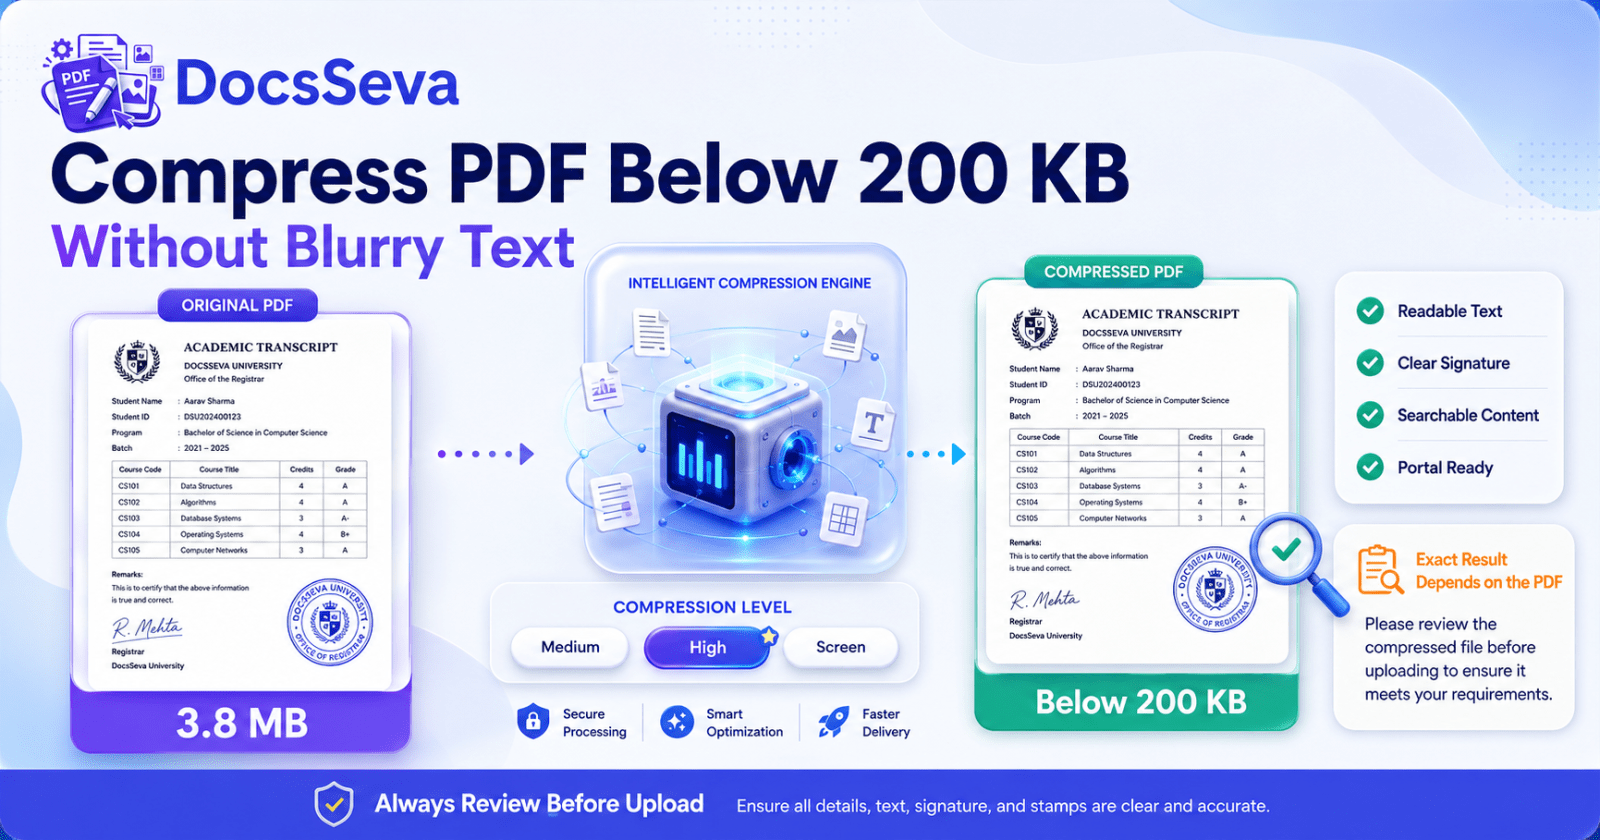
How to Compress a PDF Below 200 KB Without Blurry Text
Many government portals, job application websites, university forms and online registration systems accept PDF documents only when they are below a strict file-size limit.
One of the most common limits is 200 KB.
You may need to upload:
- A resume
- A marksheet
- A certificate
- A passport document
- A bank statement
- An application form
- A signed declaration
- A scanned identity document
- A university assignment
- A supporting legal document
The problem is that strong compression can make small text, signatures, stamps and scanned details blurry.
The goal should therefore not be to make the PDF as small as possible without considering quality.
A successful result should:
- Remain below the required limit
- Keep text readable
- Preserve important signatures and stamps
- Retain searchable text where possible
- Maintain the correct page count
- Open correctly after downloading
- Remain acceptable to the upload portal
- Preserve enough quality for the document’s purpose
This guide explains how to compress a PDF below 200 KB without unnecessarily damaging its readability.
To start reducing your document, open the free DocsSeva PDF Compressor.
Quick Answer: How Do You Compress a PDF Below 200 KB?
Use this workflow:
- Keep an unchanged copy of the original PDF.
- Confirm that the portal limit is actually 200 KB.
- Remove blank, duplicate and unnecessary pages.
- Extract only the pages required by the recipient.
- Start with Medium compression.
- Check the resulting file size.
- Move to High compression when Medium remains above 200 KB.
- Inspect small text, signatures and stamps at 100% zoom.
- Use Screen mode only when stronger reduction is necessary and selectable text is not required.
- Start every new attempt from the original PDF.
Not every PDF can be reduced below 200 KB while preserving excellent quality.
A one-page digital certificate may reach the target easily. A 30-page colour scan may not reach the same size without substantial quality reduction.
What Does “Below 200 KB” Mean?
When a portal requires a file below 200 KB, it normally means the uploaded document must remain under the platform’s configured limit.
Do not aim for a result that displays exactly:
200 KB
A portal may calculate or round file sizes differently.
A safer target can be:
180–195 KB
This creates a small margin between your file and the portal’s maximum limit.
However, do not continue compressing a clear 190 KB document merely to make it 100 KB.
Once the file satisfies the requirement and remains readable, stronger compression is unnecessary.
Why Do Portals Require PDFs Below 200 KB?
File-size limits may be used to:
- Reduce server storage
- Improve upload speed
- Support users with slower connections
- Standardise document submissions
- Reduce processing time
- Prevent extremely large scans
- Simplify document review
- Control form-system capacity
Common systems with strict limits may include:
- Government application portals
- Job application websites
- University admission systems
- Scholarship portals
- Online examination forms
- Visa application portals
- Recruitment systems
- Public-service forms
- Document-verification systems
Always follow the exact instructions displayed by the portal.
Some websites may require:
- PDF only
- A maximum of 200 KB
- A particular page size
- A specific filename
- No password protection
- No digital signature
- A minimum resolution
- A particular document category
File size is only one part of the upload requirement.
Can Every PDF Be Reduced Below 200 KB?
No.
The achievable result depends on:
- Number of pages
- Original file size
- Image resolution
- Scan quality
- Colour content
- Number of photographs
- Embedded fonts
- Existing compression
- Page dimensions
- Required readability
- Compression method
Consider the following examples.
Example 1: Digital certificate
Pages: 1
Content: Digital text and a small logo
Original size: 650 KB
Target: Below 200 KB
This document may have a good chance of reaching the target while remaining clear.
Example 2: Scanned certificate
Pages: 1
Content: Full-page colour scan
Original size: 4 MB
Target: Below 200 KB
The target may still be achievable, but stronger image optimisation could be required.
Example 3: Colour document bundle
Pages: 25
Content: Full-page scans, stamps and photographs
Original size: 38 MB
Target: Below 200 KB
Reaching 200 KB may be unrealistic without:
- Removing pages
- Splitting the PDF
- Extracting only the required section
- Converting pages to a very low resolution
- Accepting major quality loss
Do not sacrifice essential information merely to force an unsuitable document below a strict number.
Why Does Text Become Blurry During Compression?
Text becomes blurry mainly when the letters are stored as part of an image.
There are two important PDF types.
Digital-Text PDF
A digital-text PDF stores letters as characters together with font and positioning instructions.
Users can normally:
- Select text
- Search for words
- Copy content
- Zoom without making characters pixelated
- Use screen readers
- Extract text using compatible software
Digital text usually remains sharp during standard PDF compression.
The compressor may reduce images while leaving the text structure intact.
Scanned PDF
A scanned PDF often stores each page as an image.
Even when the page contains only printed text, the PDF may treat the complete page as a photograph.
When image resolution is reduced, the letters lose pixels.
This can make:
- Small characters softer
- Numbers difficult to identify
- Thin punctuation disappear
- Signatures lose detail
- Stamps become unclear
- QR codes become less reliable
- Barcodes become harder to scan
Scanned documents therefore require more careful quality checking.
How to Check Whether a PDF Is Scanned
Try selecting one word inside the PDF.
When the word can be selected
The document probably contains digital text or an OCR text layer.
When nothing can be selected
The page may be a scanned image.
Other signs of a scanned PDF include:
- Text becomes pixelated when zoomed
- Search does not find visible words
- Pages contain shadows or curved edges
- The paper background is visible
- Every page looks like a photograph
- The document came from a mobile scanning application
Use the DocsSeva PDF OCR tool when a scanned document needs searchable text.
Prepare the PDF Before Compression
Good preparation can reduce the amount of aggressive compression required.
1. Keep the Original PDF
Save an unchanged copy before doing anything else.
Do not overwrite your only copy.
Strong compression may permanently remove image detail.
2. Confirm the Portal Requirement
Check whether the website requires:
Maximum file size: 200 KB
or:
Maximum file size: 200 KB per document
Also check:
- Accepted file format
- Page limit
- Filename rules
- Image-resolution rules
- Password restrictions
- Whether multiple files are accepted
- Whether colour is required
Do not optimise the wrong document or target.
3. Remove Blank Pages
Blank scanned pages may still contain:
- Paper texture
- Shadows
- Scanner noise
- Borders
- Dust
- Background colour
A page that looks blank can still contain a full-page image.
Use the DocsSeva PDF Page Remover to delete pages you do not need.
4. Remove Duplicate Pages
Check for:
- Repeated certificates
- Duplicate scans
- Repeated front pages
- Old document versions
- Accidental rescans
- Duplicate application forms
Removing one duplicate page can reduce size without affecting the quality of the remaining document.
5. Extract Only Required Pages
A portal may ask for only:
- The first page
- The signature page
- A specific certificate
- A marksheet page
- An identity page
- A selected page range
Do not upload an entire report when only a few pages are required.
Use the DocsSeva PDF Page Extractor to create a PDF containing only the pages you need.
6. Split the Document When Allowed
Some portals provide separate upload fields for:
- Identity proof
- Address proof
- Marksheets
- Certificates
- Resume
- Photograph
- Signature
Use the DocsSeva PDF Splitter when different sections can be uploaded separately.
Splitting a long document is often better than applying extreme compression to every page.
7. Remove Unnecessary Colour
Colour may be important for:
- Photographs
- Official seals
- Highlighted information
- Coloured signatures
- Charts
- Verification marks
Do not remove meaningful colour.
For ordinary black-text pages, a grayscale or properly prepared black-and-white source may require less storage.
8. Crop Large Empty Margins
Mobile scans may include:
- Desk surfaces
- Dark borders
- Fingers
- Background walls
- Shadows
- Excessive white margins
Cropping unnecessary areas before creating the PDF can reduce the image data and improve readability.
Understanding DocsSeva Compression Modes
The DocsSeva PDF Compressor provides multiple compression levels.
The correct choice depends on your original document and required output.
Low Compression
Low compression prioritises visual quality.
Use it when:
- The original PDF is already close to 200 KB
- Fine text must remain extremely clear
- The PDF contains a detailed photograph
- The document will be printed
- The file needs only a small reduction
- The document contains diagrams or technical details
Advantages
- Preserves more image detail
- Lower risk of blurry text
- Better print quality
- Better for signatures and stamps
Limitation
The output may remain above 200 KB.
Medium Compression
Medium compression balances file size and quality.
Use it as the first attempt for:
- Resumes
- Certificates
- Assignments
- Application documents
- Business reports
- Ordinary scanned records
- Email attachments
Advantages
- Practical size reduction
- Good text readability
- Searchable text can remain available
- Suitable for many online uploads
- Less quality loss than aggressive modes
Limitation
Large scanned files may remain above 200 KB.
High Compression
High compression applies stronger optimisation.
Use it when:
- Medium remains above 200 KB
- The portal has a strict limit
- The PDF contains large scans
- The document is mainly for screen viewing
- A smaller output is more important than maximum image detail
Advantages
- Stronger file-size reduction
- Useful for online applications
- Helpful for scanned documents
- Faster to upload after compression
Limitations
- Small scanned text may become softer
- Photographs may lose detail
- QR codes and barcodes require testing
- Print quality may be reduced
Screen Mode
Screen mode provides stronger reduction by rasterising pages.
It can be useful when:
- The smallest possible file is required
- Standard compression is not enough
- The document is a final viewing copy
- Selectable text is not required
- Links and forms are not required
- Screen viewing is more important than printing
Avoid Screen mode when you need:
- Searchable text
- Selectable text
- Copy-and-paste functionality
- Accessibility support
- Active links
- Fillable forms
- Maximum print quality
- An existing OCR text layer
Compression Mode Comparison for a 200 KB Target
| Mode | Reduction strength | Text quality | Searchable text | Suitability for 200 KB |
|---|---|---|---|---|
| Low | Light | Highest | Preserved | Useful when the original is already small |
| Medium | Balanced | High | Preserved | Best first attempt |
| High | Strong | Moderate to high | Preserved | Recommended when Medium remains too large |
| Screen | Strongest | Screen-focused | Usually not preserved | Final option for difficult PDFs |
The correct result cannot be predicted from the mode name alone.
Always process and inspect the actual document.
How to Compress a PDF Below 200 KB with DocsSeva
Follow this complete workflow.
Step 1: Open the PDF Compressor
Visit:
Step 2: Select the Original PDF
Choose the document from your device or drag it into the file-selection area.
Before processing, confirm that:
- The PDF opens correctly
- All required pages are present
- Blank pages have been removed
- You have kept a backup
- The document is not corrupted
- You are authorised to process it
- Any required password is available
Step 3: Check the Original File Size
Record the starting size.
For example:
Original size: 2.7 MB
Target: Below 200 KB
This helps you understand how much reduction is required.
Step 4: Start With Medium Compression
Select Medium and process the PDF.
Medium is the most sensible starting point for many documents because it balances:
- File-size reduction
- Text readability
- Image clarity
- Searchability
- General screen quality
Step 5: Download the Result
Open the compressed PDF immediately.
Check its file size.
When the result is below 200 KB
Do not apply stronger compression automatically.
Review the quality and use the file when it satisfies the portal requirement.
When the result remains above 200 KB
Return to the original PDF and try High compression.
Do not compress the Medium output again.
Step 6: Try High Compression
Process a fresh copy of the original PDF using High mode.
Download and inspect the result.
Check:
- File size
- Small text
- Signatures
- Stamps
- Registration numbers
- Dates
- QR codes
- Barcodes
- Searchable text
- Page count
Step 7: Use Screen Mode Only When Necessary
Use Screen mode when:
- High compression still does not meet the limit
- The recipient needs only a visible copy
- Searchable text is not required
- Forms and links are unnecessary
- The result remains readable at normal size
Screen mode should be treated as a final option rather than the default.
Step 8: Leave a Safety Margin
When the portal limit is 200 KB, try to keep the final file slightly below the maximum.
For example:
Final size: 188 KB
Portal limit: 200 KB
A margin can help when a portal displays or calculates size differently.
Step 9: Upload the Correct File
Before uploading, confirm that you selected the compressed copy rather than the original.
Rename it clearly.
Example:
certificate-below-200kb.pdf
Avoid confusing names such as:
final-final-new-2.pdf
Follow the portal’s filename rules.
Best Strategy Based on the Original File Size
The amount of work required depends on the original PDF.
Original PDF Is 200–400 KB
Try:
- Low compression
- Medium compression if Low remains too large
- Confirm quality
- Upload the result
The document may need only light optimisation.
Original PDF Is 400 KB–1 MB
Try:
- Remove unnecessary pages
- Use Medium compression
- Check the result
- Use High only when required
This range may offer a good chance of reaching 200 KB without severe quality loss.
Original PDF Is 1–5 MB
Try:
- Determine whether it is scanned
- Remove blank pages
- Extract only required pages
- Use Medium
- Move to High
- Inspect small text carefully
Image-heavy documents may need stronger optimisation.
Original PDF Is 5–20 MB
Try:
- Remove unnecessary pages
- Split unrelated documents
- Crop poor scans
- Optimise source images where possible
- Use High compression
- Test Screen mode only if acceptable
Reaching 200 KB may be difficult when the document has many pages.
Original PDF Is Above 20 MB
First ask whether the complete document must be uploaded as one file.
A large PDF may contain:
- Too many pages
- Full-resolution scans
- Photographs
- Attachments
- Duplicate sections
- Print-quality images
Extracting only required pages may produce a better result than extreme compression.
How to Keep Text Clear While Compressing
Start From the Clearest Original
Compression cannot restore details that are already missing.
Avoid starting with:
- Blurry scans
- Out-of-focus photographs
- Dark pages
- Low-contrast text
- Crooked pages
- Heavy shadows
- Tiny screenshots
A clear original can withstand compression better.
Avoid Repeated Compression
Do not use this workflow:
Original → Medium → High → Screen
when each step uses the output from the previous step.
Repeated lossy compression can progressively reduce quality.
Use this workflow instead:
Original → Medium attempt
Original → High attempt
Original → Screen attempt
Every attempt should begin with the unchanged original.
Check the Smallest Text
Large headings may remain clear even when fine print becomes unreadable.
Inspect:
- Certificate serial numbers
- Dates
- Registration numbers
- Roll numbers
- Account numbers
- Identification numbers
- Footer text
- Terms and conditions
- Signature labels
- Official stamp text
Preserve Digital Text
Use Low, Medium or High when searchable text matters.
Avoid rasterisation when the document must remain:
- Searchable
- Selectable
- Accessible
- Machine-readable
- Suitable for recruitment systems
- Suitable for text extraction
Protect QR Codes and Barcodes
Strong image compression can soften sharp edges.
After compression:
- Zoom into the code.
- Scan it using an appropriate device.
- Confirm that it opens or reads correctly.
- Use a lighter mode when it fails.
Do not assume that a visually recognisable code is still machine-readable.
Protect Signatures and Stamps
Check:
- Signature shape
- Pen strokes
- Stamp border
- Stamp text
- Seal colour
- Registration mark
Use a lighter mode when these details are important for verification.
Avoid Unnecessary Page Rasterisation
Digital text usually requires less storage than an image of the same text.
Rasterising a text-based PDF can:
- Remove searchability
- Reduce accessibility
- Create pixel-based letters
- Increase blurriness at zoom
- Flatten links and forms
Use Screen mode only when its trade-offs are acceptable.
How to Compress a Scanned PDF Below 200 KB
Scanned PDFs are among the most difficult documents to reduce because every page can be a high-resolution image.
Use this workflow.
Step 1: Count the Required Pages
A one-page scan has a much better chance of reaching 200 KB than a 20-page scan.
Remove pages the recipient does not require.
Step 2: Check Whether Colour Is Necessary
Preserve colour when it contains meaningful information.
Consider a grayscale source only when:
- The document contains ordinary black text
- No coloured stamp is required
- No photograph is required
- No colour-coded information is present
Step 3: Crop Empty Background Areas
Remove desk surfaces, shadows and unnecessary margins before rebuilding the document.
Step 4: Use Medium Compression
Check whether Medium reaches the required size.
Step 5: Move to High Compression
Use High when Medium remains above 200 KB.
Inspect the text at 100% zoom.
Step 6: Check OCR Searchability
When the original scan contains OCR text, test whether searching still works.
Step 7: Use Screen Mode Carefully
A scanned PDF may already consist of page images.
Screen mode can create a smaller viewing copy, but small letters may become softer.
How to Compress a Resume Below 200 KB
A resume should ideally remain:
- Readable
- Searchable
- Selectable
- Professionally formatted
- Compatible with recruitment systems
Use this workflow:
- Remove unnecessary high-resolution photographs.
- Avoid decorative background images.
- Export directly from the source document.
- Use Medium compression.
- Use High only when necessary.
- Avoid Screen mode where possible.
- Test text selection.
- Check all contact details.
- Confirm that portfolio links still work.
- Upload the final version.
A simple text-based resume can often remain clear at a small file size.
Read the general quality guide:
How to Reduce PDF File Size Without Losing Quality
How to Compress a Certificate Below 200 KB
Certificates may contain:
- Small serial numbers
- Official seals
- Signatures
- Logos
- Decorative borders
- Fine print
- Coloured elements
Use this process:
- Crop unnecessary scanner borders.
- Keep the certificate page only.
- Start with Medium compression.
- Use High when required.
- Inspect the serial number.
- Check the signature.
- Verify the stamp or seal.
- Confirm that the name and date remain clear.
- Avoid extreme compression when the document is used for verification.
How to Compress a Bank Statement Below 200 KB
Bank statements may contain many pages and small text.
Before processing:
- Confirm which pages are required
- Remove unrelated pages
- Extract the requested statement period
- Preserve account and transaction details
- Follow applicable privacy requirements
Use Medium compression for text-based statements.
When the PDF is a scan, inspect:
- Account numbers
- Transaction dates
- Amounts
- Balances
- Bank stamps
- Verification codes
Do not make financial information unreadable merely to reach the target.
How to Compress Government Documents Below 200 KB
Government portals frequently require small uploads.
Check the official instructions before processing.
Important details may include:
- Applicant name
- Registration number
- Certificate number
- Date of birth
- Signature
- Official seal
- Photograph
- Issuing authority
- QR code
- Barcode
Use this order:
- Remove unnecessary pages.
- Start with Medium compression.
- Try High when necessary.
- Check every critical detail.
- Use Screen only when acceptable.
- Leave a small size margin.
- Open the file again before uploading.
How to Compress Multiple Pages Below 200 KB
A multi-page document is harder to reduce than a one-page PDF.
Use these strategies.
Remove Unnecessary Pages
Delete blank, duplicate and unrelated pages.
Split the Document
When separate uploads are accepted, create multiple smaller PDFs.
Extract the Required Section
Upload only the requested page range.
Reduce Image-Heavy Pages
Photographs and full-page scans usually consume the most storage.
Use High Compression
High may be required when several pages must remain in one PDF.
Evaluate Whether 200 KB Is Realistic
For example:
20 full-colour scanned pages
Target: Below 200 KB
This target may require unacceptable quality reduction.
Contact the portal owner or verify whether multiple uploads are accepted when the requirement appears unrealistic.
Practical Compression Examples
The following examples are illustrative. Actual results depend on the PDF.
Example 1: One-Page Digital Certificate
Original size: 720 KB
Mode tested: Medium
Target: Below 200 KB
Possible outcome: Target may be achieved with clear text
Because the document contains digital text and a limited number of graphics, it may compress efficiently.
Example 2: One-Page Colour Scan
Original size: 3.2 MB
Mode tested: High
Target: Below 200 KB
Possible outcome: Strong reduction with some image softening
The signature, stamp and serial number should be inspected carefully.
Example 3: Two-Page Resume
Original size: 1.1 MB
Mode tested: Medium
Target: Below 200 KB
Possible outcome: Good chance when photographs are limited
Searchable text and links should be tested.
Example 4: Ten-Page Scanned Form
Original size: 14 MB
Mode tested: High
Target: Below 200 KB
Possible outcome: Target may be difficult without removing pages
Splitting or extracting the required section may be the better solution.
How to Check the Compressed PDF
Never judge the result by file size alone.
Use the following quality checklist.
Confirm the Page Count
Make sure no page is missing.
Check the First and Last Pages
File-processing problems may affect specific pages.
Review Every Image-Heavy Page
Pages with photographs or stamps may show more quality loss than text-only pages.
View at 100% Zoom
Inspect:
- Fine text
- Numbers
- Signatures
- Stamps
- QR codes
- Barcodes
- Borders
- Diagrams
- Photographs
Search for a Word
Confirm that text search still works when required.
Select and Copy Text
Test a heading and a paragraph.
Check Hyperlinks
Open important links in:
- Resumes
- Reports
- Portfolios
- Applications
Test Form Fields
Confirm that:
- Text fields work
- Checkboxes remain active
- Buttons remain available
- Signature fields are preserved
Check the File Size
Make sure the final file is actually below the portal’s limit.
Open the File in Another Viewer
A document that opens in one application should also be tested in another suitable PDF viewer.
What to Do When the PDF Is Still Above 200 KB
Try High Compression
Return to the original and process it with High mode.
Remove Extra Pages
Delete all content the recipient does not need.
Extract Specific Pages
Create a new PDF containing only the required pages.
Split the Document
Use separate uploads when the portal allows them.
Optimise Source Images
When you have the original images, reduce their dimensions and storage before rebuilding the PDF.
Use:
Rebuild the PDF
Use DocsSeva Images to PDF to create a fresh document from optimised images.
Remove Unnecessary Photographs
A decorative photograph may consume more storage than all the text combined.
Use Screen Mode
Use it only when searchable text and interactive features are not required.
Confirm That the Portal Accepts Multiple Files
The form may provide separate upload fields.
Confirm That the Limit Is Per File
A portal may allow several files below 200 KB each.
What to Do When the PDF Is Below 200 KB but Blurry
Do not upload it immediately.
Try the following fixes.
Return to the Original PDF
Do not attempt to repair the heavily compressed output.
Choose a Lighter Mode
Use Medium instead of High or Low instead of Medium.
Remove Pages Instead of Lowering Quality
Reducing the page count can preserve quality better than aggressive image compression.
Recreate the PDF From Clearer Sources
Use the original document or scan again at a suitable quality.
Improve the Source Scan
Avoid:
- Shadows
- Poor lighting
- Out-of-focus images
- Curved paper
- Very small text
- Low contrast
Preserve Important Pages at Better Quality
When possible, split detailed pages into a separate upload.
Check at Normal Viewing Size
A page may appear soft at extreme zoom but remain clear at normal size.
However, all important information must still be readable.
Why a PDF May Refuse to Reach 200 KB
Possible reasons include:
- Too many pages
- Full-page scans
- Large photographs
- Colour-heavy content
- Complex graphics
- Embedded attachments
- Already compressed images
- Required fonts
- Forms and annotations
- Unrealistic target size
Compression cannot remove unlimited data while preserving unlimited quality.
Why Compression May Increase the File Size
A compressed output can occasionally become larger when:
- Images were already efficiently compressed
- Document structure was rebuilt
- Pages were rasterised at an unsuitable resolution
- Extra metadata was added
- Monochrome content was re-encoded inefficiently
- Additional font information was included
When this happens:
- Keep the original.
- Try another compression mode.
- Remove unnecessary content.
- Compare quality and size.
- Do not use the larger output.
Common Mistakes to Avoid
Selecting Maximum Compression Immediately
Start with Medium.
Compressing the Same Output Repeatedly
Every new attempt should start from the original PDF.
Checking Only the First Page
Quality loss may appear later in the document.
Ignoring Small Text
Always inspect serial numbers, dates and fine print.
Deleting the Original
Keep the source until the upload has been accepted.
Assuming Screen Mode Preserves Text
Screen mode may rasterise pages and remove selectable text.
Ignoring QR Codes
Test codes after compression.
Ignoring File-Name Requirements
Some portals reject spaces, symbols or very long filenames.
Uploading the Wrong Copy
Confirm that the selected file is the compressed version.
Assuming Every PDF Can Reach 200 KB
Some documents require too much visual data.
Removing Meaningful Colour
Official seals and coloured verification elements may be important.
Compressing a Digitally Signed PDF
Changing a signed PDF may invalidate its signature.
Compress before signing whenever possible.
Recommended 200 KB Compression Workflow
Use this complete sequence:
- Read the portal requirements.
- Keep the original PDF.
- Check the original file size.
- Identify whether the document is scanned.
- Remove blank pages.
- Remove duplicate pages.
- Extract only required pages.
- Split the document when allowed.
- Start with Medium compression.
- Download and inspect the result.
- Use High when Medium remains too large.
- Use Screen only when appropriate.
- Check small text at 100% zoom.
- Test searchable text.
- Test QR codes, links and forms.
- Confirm that the final size is safely below 200 KB.
- Rename the file clearly.
- Upload the correct copy.
- Confirm that the portal accepts it.
- Keep the original until the process is complete.
Related DocsSeva Compression Guides
Continue reading these guides:
- How to Compress a PDF Online for Free
- Complete Guide to PDF Compression
- How Does PDF Compression Work?
- Low vs Medium vs High PDF Compression
- How to Reduce PDF Size Without Losing Quality
- Why Is My PDF File So Large?
- Is It Safe to Compress a PDF Online?
- Browser-Based vs Server-Based PDF Compression
Update any URL that uses a different published slug.
Related DocsSeva Tools
Use these tools to prepare your PDF:
- PDF Compressor — reduce PDF file size
- PDF Page Remover — delete unnecessary pages
- PDF Page Extractor — keep only selected pages
- PDF Splitter — divide a large PDF
- PDF Merger — combine only required files
- PDF OCR — make scanned text searchable
- Image Compressor — optimise source images
- Image Resizer — reduce image dimensions
- Images to PDF — build a PDF from optimised images
- PDF to Images — convert PDF pages into images
- PDF Unlock — remove an authorised password restriction
- PDF Password — protect the approved final document
Frequently Asked Questions
1. How can I compress a PDF below 200 KB?
Remove unnecessary pages, start with Medium compression and use High when the result remains too large.
2. Can every PDF be reduced below 200 KB?
No. The result depends on page count, image content, scan quality and required readability.
3. Can I compress a PDF to exactly 200 KB?
An exact result cannot be guaranteed for every document. Aim slightly below the portal limit.
4. Why should I aim below 200 KB rather than exactly 200 KB?
Portals may calculate or round file size differently. A small margin can reduce upload rejection.
5. What is the best compression mode for 200 KB?
Medium is the best first attempt. Use High when Medium remains above the limit.
6. Should I use Screen mode for a 200 KB target?
Use it only when stronger reduction is required and searchable text, forms and links are unnecessary.
7. Why does my PDF become blurry?
The compressor may reduce the resolution or quality of scanned page images.
8. Why does digital text remain clearer?
Digital text is stored as characters and font instructions instead of page-image pixels.
9. Why is scanned text affected more?
In a scanned PDF, letters are part of an image. Reducing the image resolution directly affects the text.
10. How do I know whether my PDF is scanned?
Try selecting a word. When nothing can be selected, the page may be an image.
11. Can OCR help?
OCR can add searchable text to a scanned PDF, but it does not automatically make page images smaller.
12. Can compression preserve an OCR layer?
Standard compression may preserve it. Rasterisation may remove searchability.
13. What mode should I use for a resume?
Use Medium first. Avoid Screen mode when searchable text is important.
14. What mode should I use for a certificate?
Start with Medium and move to High only when necessary.
15. What mode should I use for government forms?
Medium or High may be appropriate depending on the portal limit and original document.
16. Can a multi-page PDF reach 200 KB?
It may be possible for text-based documents. Multi-page colour scans can be much more difficult.
17. Should I remove blank pages first?
Yes. Blank scans may still contain full-page image data.
18. Should I extract only required pages?
Yes. Page extraction can reduce size without lowering the quality of the pages you keep.
19. Should I split a large PDF?
Use splitting when the recipient accepts multiple files or separate upload fields.
20. Can I reduce image dimensions before creating a PDF?
Yes. Resizing oversized source images can reduce the final file substantially.
21. Can I compress source images first?
Yes. Optimising source images provides more control over the final result.
22. Should I repeatedly compress the same output?
No. Start each attempt from the original PDF.
23. Why is repeated compression bad?
Repeated lossy processing can progressively remove image detail.
24. Why is my PDF still above 200 KB after High compression?
It may contain too many pages, large scans, photographs, attachments or complex graphics.
25. Can attachments make the PDF large?
Yes. Embedded files contribute to the total size.
26. Can fonts make a PDF large?
Yes. Embedded font files can add data, although images are usually the larger contributor.
27. Does removing pages reduce quality?
No. It removes content but does not lower the quality of the pages retained.
28. Can I remove colour to reduce size?
Only when colour does not carry important information.
29. Can compression damage signatures?
Strong image compression can soften signature details.
30. Can compression damage stamps?
Yes. Fine stamp text and borders may become unclear.
31. Can compression affect QR codes?
Yes. Strong compression can soften the sharp edges needed for reliable scanning.
32. Can compression affect barcodes?
Yes. Test every important barcode after processing.
33. Can compression affect hyperlinks?
Standard modes may preserve them, but links should be tested.
34. Can compression affect form fields?
Rasterisation can flatten or remove interactive fields.
35. Does compression change the page dimensions?
Compression generally reduces stored data rather than changing visible page dimensions.
36. Can compression invalidate a digital signature?
Yes. Modifying a signed PDF can invalidate the signature.
37. Should I compress before signing?
Yes. Finalise and compress the document before applying a digital signature whenever possible.
38. Why did my compressed PDF become larger?
The original may already be optimised, or the new encoding may be less efficient.
39. What should I do when the output is larger?
Keep the original and try another mode or remove unnecessary content.
40. What should I check at 100% zoom?
Check fine text, dates, serial numbers, signatures, seals, QR codes and diagrams.
41. Is a file below 200 KB automatically acceptable?
No. It must also meet format, filename, page and quality requirements.
42. Is the smallest file always the best result?
No. The best result is the smallest file that remains readable and functional.
43. Should I delete the original after compression?
Keep it until the upload has been accepted and the process is complete.
44. What should I do when 200 KB is unrealistic?
Remove unnecessary pages, split the document or confirm whether separate uploads are accepted.
45. What is the safest overall workflow?
Keep the original, remove unnecessary content, begin with Medium, use High only when needed and inspect the final document before upload.
Compress Below 200 KB Without Sacrificing Important Information
Reaching a 200 KB limit requires a balance between file size and document quality.
Use Medium compression as the first attempt.
Use High when the document remains too large.
Use Screen only when maximum reduction is necessary and selectable text or interactive features are not required.
Before uploading, confirm that the final PDF:
- Is safely below 200 KB
- Contains every required page
- Keeps important text readable
- Preserves signatures and stamps
- Retains searchable text when required
- Opens correctly
- Meets the portal’s document rules
- Uses an acceptable filename
Do not continue reducing a document that already satisfies the limit and remains clear.
DocsSeva Editorial Team
Published on July 31, 2026
Browse all tools
29+ free document tools, no account required.
Browse all toolsRelated articles
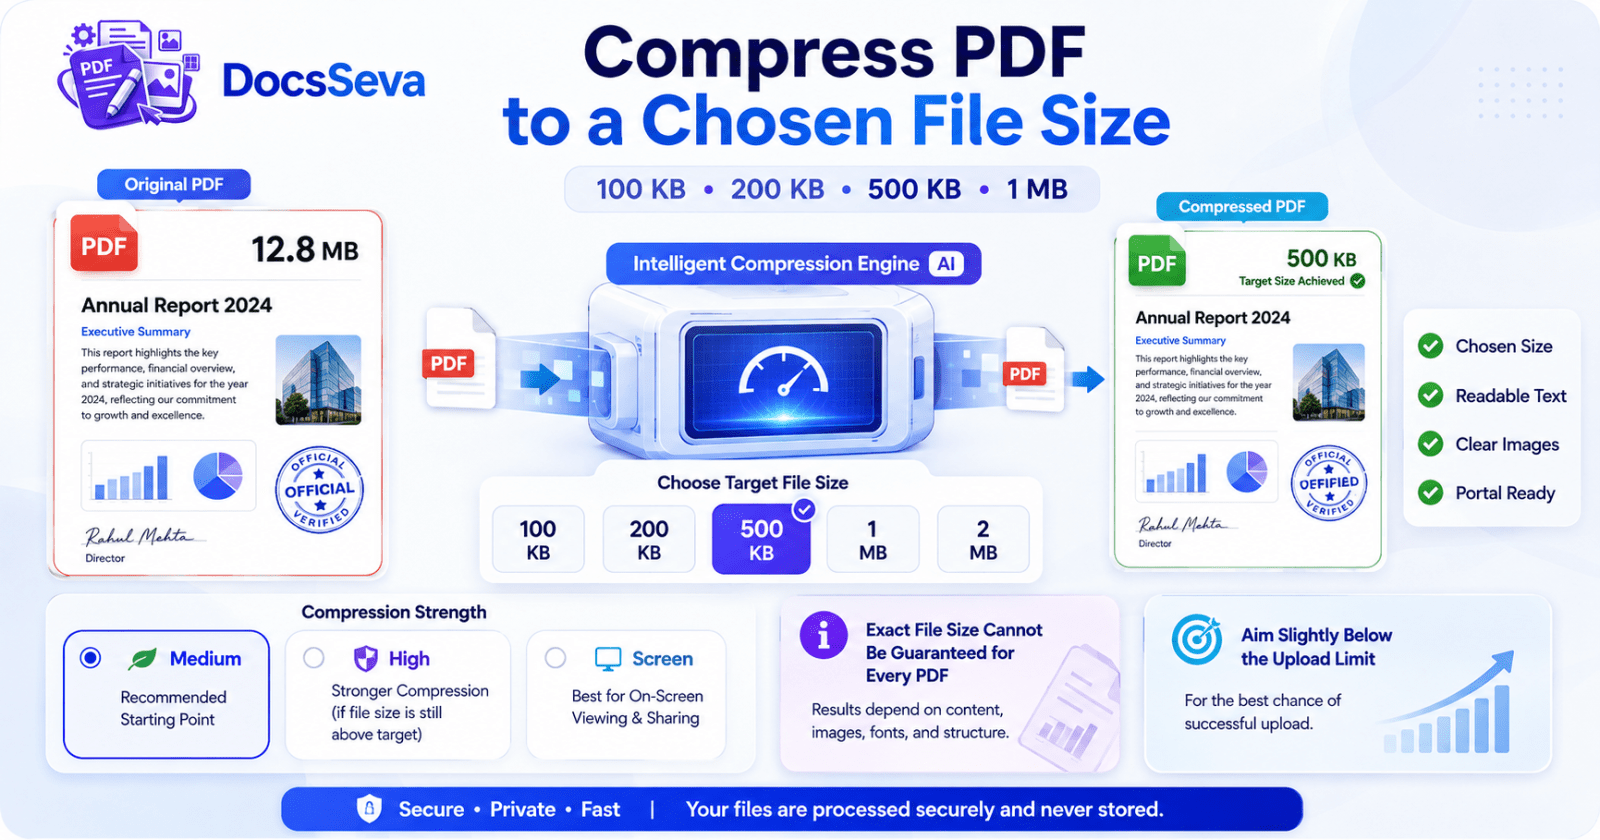
How to Compress a PDF to a Chosen File Size Without Losing Quality
Learn how to compress a PDF to a chosen file size such as 100 KB, 200 KB, 500 KB, 1 MB or 2 MB while preserving readable text, clear images and essential document details.
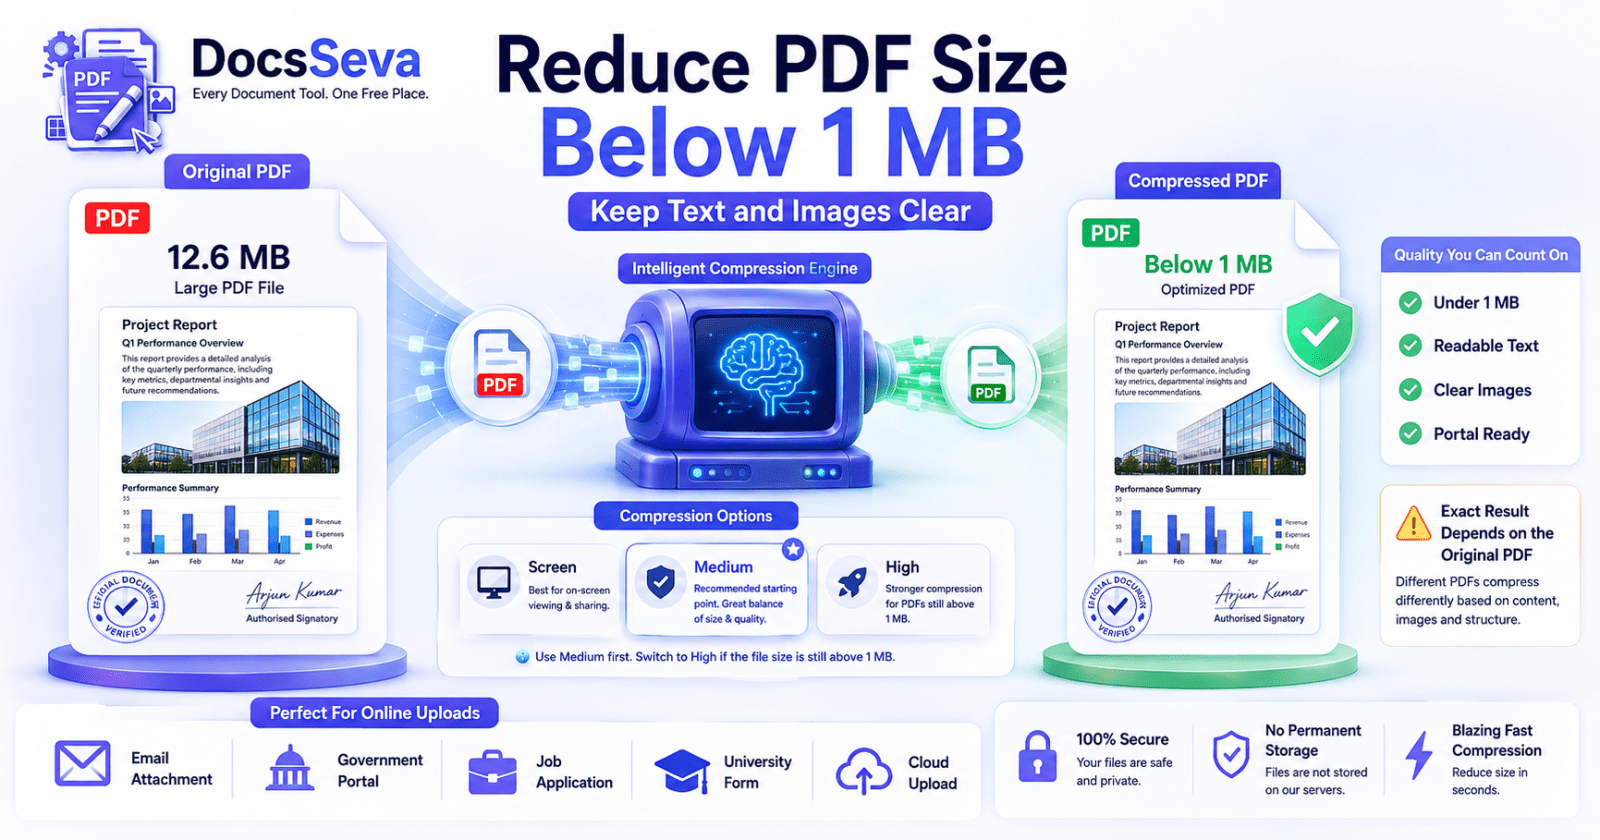
How to Reduce PDF Size Below 1 MB Without Losing Readability
Learn how to reduce PDF size below 1 MB for email, government portals, job applications and online forms while keeping text, images and signatures readable.
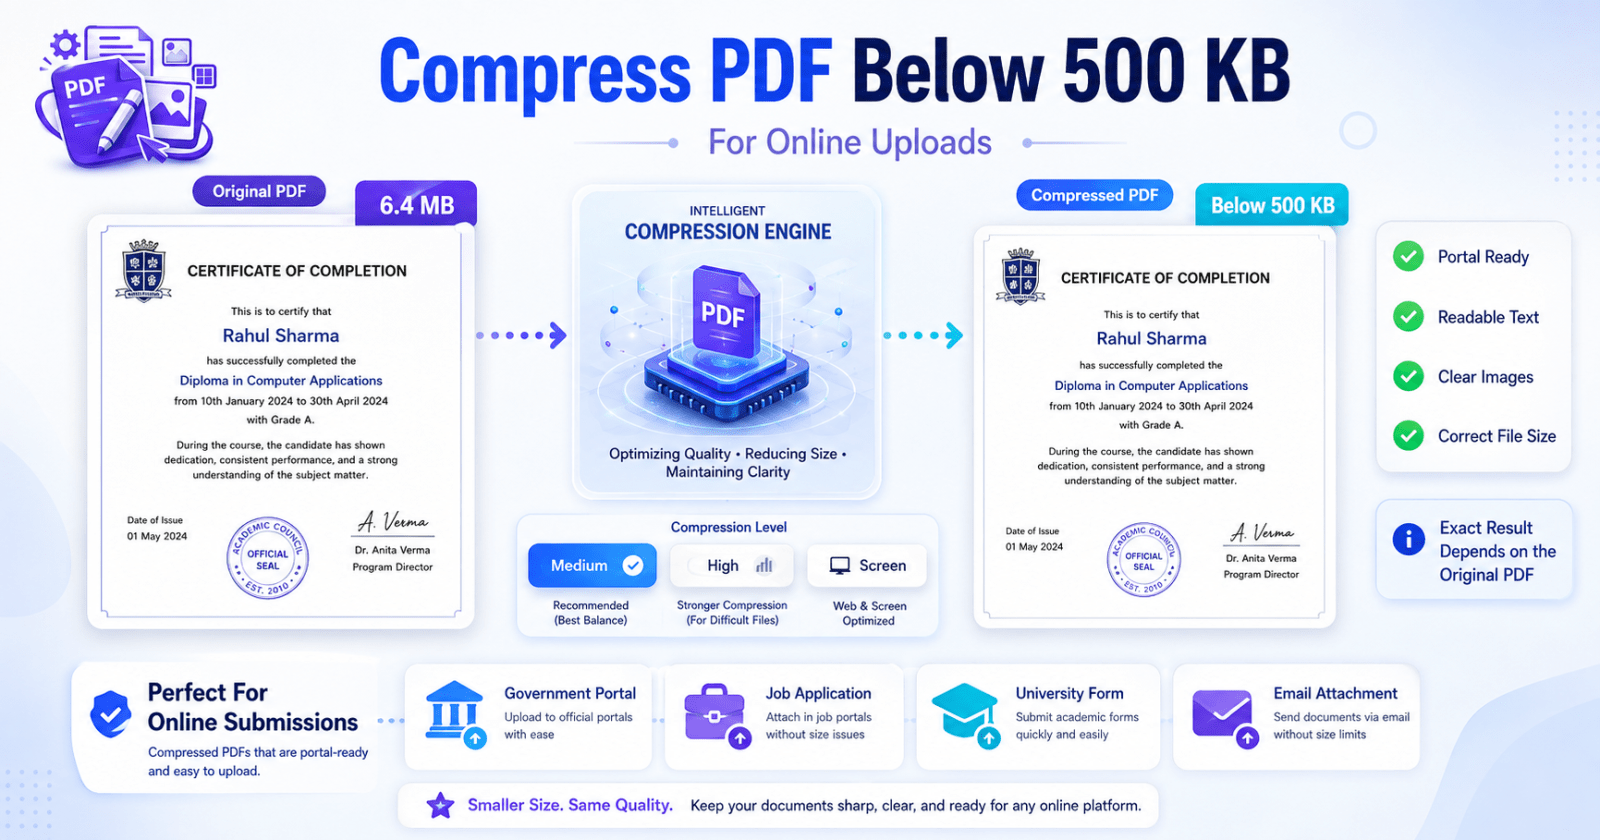
How to Compress a PDF Below 500 KB for Online Uploads
Learn how to compress a PDF below 500 KB for government portals, job applications and online forms while keeping text, signatures and images readable.